
How You Put Male and Female Hermit Crabs Together for Co-Habitation
Yes, you can microwave snow crab legs for a quick and convenient meal. First, thaw them properly and rinse under cold water.
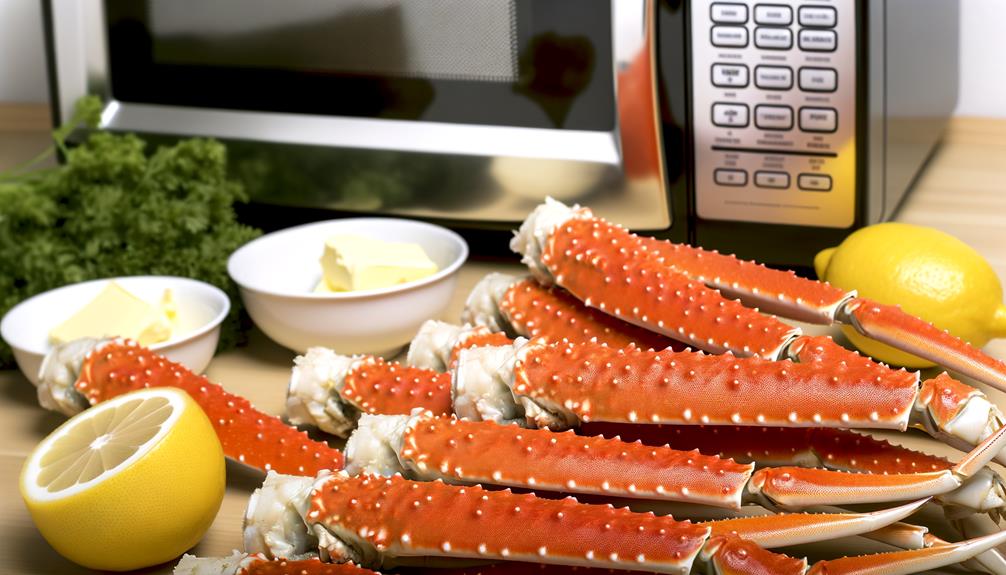
Place them in a microwave-safe dish, crack the shells, and add water or melted butter to maintain moisture. Cover with a damp paper towel and microwave on medium power for about two minutes, ensuring even heating.
Avoid overcooking to prevent a rubbery texture. Enhance flavors with ghee and seasonings like Himalayan salt.
Serve immediately for best results. For a detailed step-by-step guide and expert tips on perfecting this method, keep exploring more.
Key Takeaways
- Yes, you can microwave snow crab legs for quick and convenient preparation.
- Use a microwave-safe dish and cover with a damp paper towel to retain moisture.
- Set the microwave to medium power (50-60%) to prevent overcooking.
- Ensure crab legs are fully thawed and arranged in a single layer.
- Add water or melted butter to the dish for even heating and enhanced flavor.
Benefits of Microwaving
Why should you consider microwaving snow crab legs?
Microwaving is a quick, efficient method that maintains the succulent texture and rich flavor of the crab meat.
Place the crab legs in a microwave-safe dish, add a bit of water or broth for steam, and cover them with a microwave-safe lid or plastic wrap.
Cook on high for 3-4 minutes. This technique guarantees even heating, preserving the natural juices and minimizing nutrient loss.
Additionally, microwaving is convenient and reduces the need for additional cookware, making cleanup easier.
It's ideal for those short on time but unwilling to compromise on taste and quality.
Potential Downsides
While microwaving snow crab legs offers convenience, it does come with a few potential downsides that you should consider. One key issue is uneven heating, which can lead to parts of the crab being overcooked while others remain cold. This can affect texture and flavor, making the meat rubbery.
Additionally, microwaving can sometimes dry out the delicate crab meat. To mitigate this, you could use a microwave-safe cover to retain moisture, but it's not foolproof.
Preparing the Crab Legs
Start by thawing frozen crab legs in the refrigerator overnight or under cold running water for quicker results.
Next, season them with your preferred spices and herbs, ensuring even coverage.
Thawing Frozen Crab Legs
To properly thaw frozen crab legs, place them in the refrigerator for 8-12 hours before cooking. This gradual thawing process ensures the crab legs maintain their texture and flavor.
Confirm the crab legs are in a leak-proof container or plastic wrap to prevent cross-contamination with other foods.
If you're pressed for time, you can use the quick-thaw method: seal the crab legs in a plastic bag and submerge in cold water for 30-45 minutes, changing the water every 15 minutes.
Avoid using hot water or direct microwave thawing, as these methods can compromise the quality by causing uneven thawing or partial cooking.
Properly thawed crab legs will be pliable and ready for the next preparation steps.
Seasoning and Wrapping
Once the crab legs are thawed, it's time to boost their flavor by seasoning and wrapping them properly. Begin by lightly brushing the legs with melted butter or olive oil to make sure the seasonings adhere. Sprinkle a generous amount of Old Bay seasoning, garlic powder, or your preferred spice blend.
For added depth, squeeze fresh lemon juice over the legs.
Next, wrap the seasoned crab legs in microwave-safe plastic wrap or parchment paper. Ensure a tight seal to retain moisture and prevent drying.
Here's a quick checklist:
- Brush with melted butter or olive oil
- Sprinkle with a spice blend (Old Bay, garlic powder)
- Squeeze fresh lemon juice
- Wrap tightly in plastic wrap or parchment paper
These steps will prepare your crab legs for best microwaving.
Microwave Settings
You'll need to set your microwave to medium power, typically around 50% to 60%, to guarantee the snow crab legs heat evenly without overcooking. This setting secures the delicate meat retains its moisture and flavor. Adjusting the microwave power is essential for avoiding rubbery textures and achieving a succulent result.
Here's a quick reference table:
| Microwave Wattage | Medium Power Setting | Approximate Time |
|---|---|---|
| 700-800 watts | 50% | 4-5 minutes |
| 900-1000 watts | 55% | 3-4 minutes |
| 1100+ watts | 60% | 2-3 minutes |
Keep an eye on the clock to avoid overcooking. The goal is to warm the crab legs through, securing they're juicy and flavorful.
Step-by-Step Guide
To start, thoroughly rinse the snow crab legs under cold water to remove any debris or ice crystals.
Next, arrange the crab legs in a microwave-safe dish, ensuring they fit without overlapping.
Cover them with a damp paper towel to retain moisture during microwaving.
Preparing Crab Legs
Before microwaving snow crab legs, make sure you have thawed them thoroughly to maintain best texture and flavor. Place the crab legs in the refrigerator overnight or run cold water over them in a sealed plastic bag.
Once thawed, follow these steps to prepare them:
- Rinse and Pat Dry: Rinse the legs under cold water to remove any residual ice, then pat them dry using paper towels.
- Crack the Shells: Use kitchen shears or a crab cracker to gently crack the shells, making it easier to extract the meat after cooking.
- Arrange in a Microwave-Safe Dish: Place the crab legs in a microwave-safe dish, ensuring they fit comfortably without overlapping.
- Add Moisture: Lightly sprinkle water or brush melted butter over the legs to keep them moist during microwaving.
Microwaving Techniques
Start by covering the microwave-safe dish with plastic wrap, leaving a small gap for steam to escape.
Arrange the snow crab legs in a single layer to guarantee even heating. Add a tablespoon of water or broth to the dish for moisture.
Set your microwave to medium power to prevent overcooking. Heat the crab legs in one-minute intervals, checking after each interval to monitor progress.
Rotate the legs for consistent cooking. Typically, it takes 3-4 minutes for the crab legs to heat through. Once heated, let them sit for a minute to allow the heat to distribute evenly.
Carefully remove the plastic wrap to prevent steam burns. Serve immediately with melted butter or your preferred dipping sauce.
Enhancing Flavor
Access the snow crab legs' full potential by incorporating quality seasonings and aromatics during the microwaving process. Start with a light brushing of melted ghee to infuse richness. Then, sprinkle a pinch of Himalayan salt and freshly ground peppercorns to enhance the natural sweetness.
To elevate the dish, add a squeeze of tangy lime juice and finely minced shallots for a burst of flavor. Place the seasoned crab legs in a microwave-safe dish, covering them loosely with microwave-safe plastic wrap to retain moisture.
- Ghee: Brush lightly for richness.
- Himalayan salt and peppercorns: Sprinkle to enhance natural sweetness.
- Tangy lime juice: Squeeze for acidity and brightness.
- Minced shallots: Add for depth and aromatic notes.
Following these steps guarantees a flavorful, succulent result.
Safety Tips
When microwaving snow crab legs, make certain you use a microwave-safe dish to prevent any risk of melting or chemical leaching.
Place the crab legs in a single layer to ensure even heating. Cover them with a damp paper towel or microwave-safe plastic wrap to retain moisture and prevent drying out.
Set the microwave to medium power to avoid overcooking. Heat in one-minute intervals, checking the temperature between intervals. The internal temperature should reach 145°F for safe consumption. Use oven mitts when handling the dish, as it will be hot.
Avoid using metal containers or foil, as these can cause sparks and are unsafe for microwave use. Follow these guidelines to enjoy your snow crab legs safely and deliciously.
Serving Suggestions
For an elegant presentation, garnish your microwaved snow crab legs with fresh lemon wedges and a sprinkle of chopped parsley. This not only enhances the visual appeal but also adds a burst of vitality.
Pair the crab legs with complementary sides to create a well-rounded meal.
- Drawn Butter: Melted butter with a touch of garlic enhances the natural sweetness of the crab.
- Corn on the Cob: Boiled or grilled, corn adds a comforting, starchy side.
- Coleslaw: A tangy, crunchy slaw provides an invigorating contrast.
- Crusty Bread: Perfect for soaking up any leftover juices and butter.
Serve immediately to maintain optimal texture and flavor. Use crab crackers and picks to make the dining experience effortless for your guests.
Common Mistakes
Overcooking snow crab legs in the microwave results in tough, rubbery meat, so precise timing is significant. Don't exceed two minutes per batch to guarantee tender, flavorful legs.
Another common mistake is microwaving crab legs without adequate moisture. Always wrap them in a damp paper towel or place them in a microwave-safe dish with a small amount of water. This prevents the meat from drying out.
Additionally, avoid using high power settings; medium power allows for even heating.
Lastly, neglecting to check for thawing is essential. If your crab legs are still partially frozen, they'll cook unevenly. Make sure they're fully thawed before microwaving to achieve the best results.
Conclusion
To sum up, microwaving snow crab legs is a quick and efficient method that retains their delicate flavor and texture. Remember, though, that haste makes waste; follow the steps carefully to avoid overcooking.
Enhance the experience with a touch of butter and lemon. Always prioritize safety by ensuring even heating.
Serve your perfectly prepared crab legs with complementary sides, and you'll have a gourmet meal in minutes. Happy microwaving!